Publishing an app on the Google Play Store may seem as simple as “submit → launch” to new developers. However, in reality, many developers get rejected due to overlooked details, wasting a lot of time on repeated revisions.
This article summarizes the tested experiences of veteran developers: first, it analyzes the common reasons for rejection, then provides a actionable checklist of tips covering the “pre-submission / in-review / post-rejection” phases. These tips will help you launch your app successfully on the first try and increase the approval rate. We hope this helps you avoid detours and launch your app quickly.
I. Analysis of Reasons for Google Play Approval Rejection
1. Non-Compliant Privacy Policy and Permission Declarations
Nearly half of all rejections stem from issues related to privacy and permissions.
Common problem: The app requests sensitive permissions (such as camera, microphone, location, and contacts) but fails to explain their purpose in the Privacy Policy.
2. Failed Access to the Review Environment
Reviewers’ devices are usually located in specific countries or regions. If your app’s backend or certain features (e.g., login, payment, ad display) are only available in specific countries, reviewers will judge the app as having “abnormal functions” or “inaccessible content” when they cannot access those services.
Examples:
- The app’s API is only accessible via IP addresses in China, while the reviewer is in the US;
- The backend API has an IP whitelist that does not include the review nodes;
- The logic of the app’s multi-region versions is inconsistent, leading the reviewer to see a “blank screen”.
3. Ad and SDK Violations
In recent years, Google Play has strictly inspected ad display logic and third-party SDKs. Common violations include:
- Forcing pop-up ads when the app is launched (before the user consents);
- Ad content impersonating system notifications or misleading users to click;
- Integrating undeclared SDKs (e.g., those with tracking functions or that collect sensitive data).
4. Metadata and Content Violations
This includes inconsistencies between the app name, icon, screenshots, description and the actual functions, as well as issues related to trademarks, copyrights, and false advertising.
Common cases:
- Using protected terms such as “Google”, “Android”, and “ChatGPT” in the title or description;
- Screenshots showing non-existent functions or exaggerating effects;
- Icons imitating other brands, causing confusion.

II. Tips for Fast Approval
Below are actionable tips for the three phases: “pre-submission → in-review → post-rejection”.
1. Pre-Submission
(1) Complete and Authentic Materials & Metadata
Fill in all required items in the “Prepare your app” section of Play Console: App content, Privacy Policy (HTTPS), contact information, target audience and content rating, etc. The app name, icon, screenshots, and description must be consistent with the actual functions, free of infringement, and not exaggerated.
(2) Clear Permission and Privacy Explanations
Only request the minimum permissions required for the app to run; when sensitive permissions are first accessed, display a runtime pop-up to explain their purpose (e.g., “Used to locate nearby stores”). The Privacy Policy must clearly list the types of collected data, third-party SDKs, and the user data deletion process, and be directly accessible to reviewers.
(3) Reproducible Functions and Test Access
In the “Notes to Reviewers” section, clearly state the test account, password, reproduction steps, and necessary network/region instructions; if there is a paid or subscription feature, attach the test process, automatic renewal and refund instructions (you can provide a test card or demo account). At the same time, upload a short video or GIF to visually demonstrate the key processes.
(4) Technical and Compatibility Compliance
Use Android App Bundle (AAB), ensure that the targetSdk/signing/version number meets the latest requirements, and conduct basic real-device QA (critical paths such as installation, crash testing, login, payment, and account cancellation) before submission. Prioritize using phased rollout to observe real data before pushing the app to all users.
(5) Cross-Region Verification and Stable Network Environment
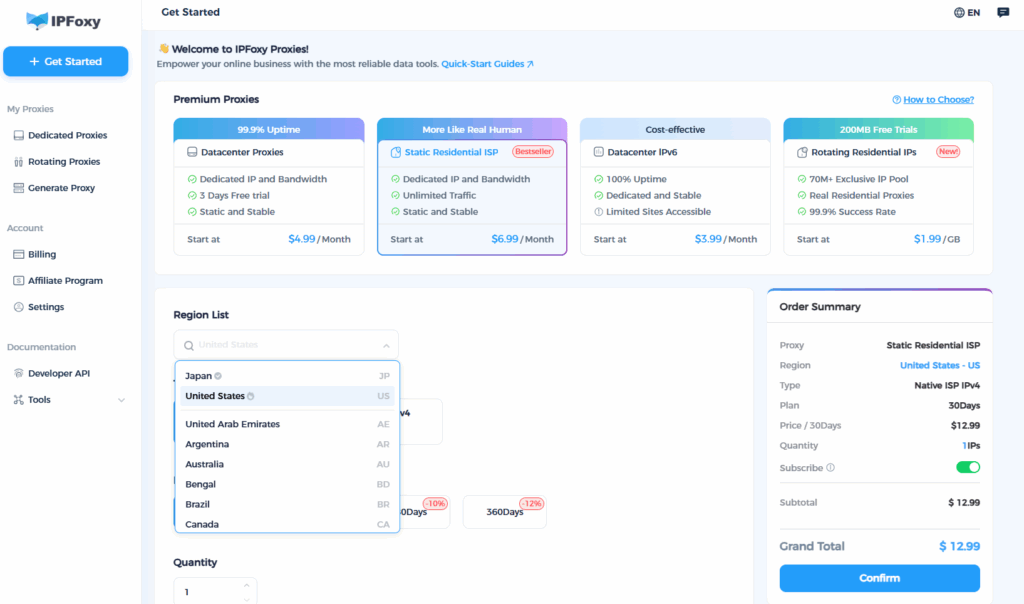
If certain functions are only available in specific countries or rely on regionalized services, be sure to conduct a complete test in the target country’s environment. You can use a compliant IP proxy service to simulate dedicated IPs for target markets, verify server responses, in-app purchases/payments, ad displays, and regional differences, and record screen recordings as evidence of reproducibility.
IPFoxy provides dedicated IPs for multiple countries, with high purity, strong stability, and high anonymity. It can help you troubleshoot issues such as “unreproducible functions during review” or risk control triggers caused by IP/region. In practice, you can switch the test device to the target country via IPFoxy proxy and conduct a complete login and payment process again to ensure that reviewers can normally access or verify the geographic restriction logic in that region.
(6) Final Review
Experience the app completely from the reviewer’s perspective: installation → login → key functions → payment → account cancellation. Check whether the page copy, screenshots, and privacy links are consistent, easy to understand, and not misleading. If there are regional differences, ensure that the notes and demo materials clearly state how to trigger them and attach screen recordings.
2. In-Review
In the Review Notes section, specify: the countries/languages where the app is visible, test account/password, steps to trigger key functions, and whether a specific network environment is required.
If functions are subject to geographic or network restrictions, state “This function can only be triggered in Country X/Region X” and attach screen recordings or screenshots.
If the reviewer sends you questions via email, respond promptly: explain what modifications you have made, the re-submitted version number, and the test method. Be clear and direct in your response. Delays may affect the re-review time.
3. Post-Rejection
Carefully read the reasons in the rejection email and do not skip key words. Make minimal reproducible fixes based on the rejection points.
In the re-review version description, write: “In response to Rejection Reason X, I have modified A, B, and C. The test process is… The test account is…”. This allows reviewers to quickly identify the fixes you have made, instead of being confused again.
If the reason is vague or “reviewers cannot reproduce the function”, prepare a 30–60 second video or GIF showing the complete process from installation → key processes → payment/login/account cancellation. Then attach a link or description in the re-submitted version notes.
Avoid submitting large-scale changes at once, unless there are indeed major structural or functional modifications. It is recommended to only address one or two clear issues in each submission, so that reviewers can easily identify the fixes you have made.
Conclusion
To pass Google Play approval on the first try, the key is not just to read the policies, but to put yourself in the reviewer’s shoes: can the reviewer quickly and seamlessly reproduce the functions you want to demonstrate? By carefully implementing each of the above tips, your rejection rate will decrease significantly, and the launch process will be much smoother. Wish you pass the approval on the first try and launch your app quickly!